
If you’ve ever stepped out of a shower and found the bathroom floor turning into a mini lake, you know the frustration of a busted liner. Most folks think a cheap liner will do the trick, but they end up paying twice—once for the liner and again for the repair.
Smart residents of Flemington have cracked the code, swapping guesswork for a simple, proven method that keeps water exactly where it belongs. It’s not about splurging on the most expensive product; it’s about choosing the right material, fit, and installation trick that the pros keep to themselves.
Ready to stop the leaks and save a bundle on future fixes? Keep reading and discover the exact steps that turn a regular shower into a watertight sanctuary.

Understanding Shower Liner Materials: PVC, CPE, and Acrylic
PVC
Polyvinyl chloride is the workhorse of shower liners—cheap, flexible, and surprisingly tough. It bends to fit awkward corners, but it can stiffen over time if exposed to harsh chemicals.
- Pros: budget‑friendly, easy to cut, resistant to mold.
- Cons: can yellow with UV exposure, less heat‑resistant than other options.
CPE
Chlorinated polyethylene steps up the game with extra durability and a softer feel underfoot. It handles temperature swings better, making it a favorite for high‑traffic homes.
- Pros: superior tear resistance, stays flexible in cold weather.
- Cons: pricier than PVC, requires a bit more care during installation.
Acrylic
Acrylic liners look and feel like a high‑end shower wall—smooth, glossy, and virtually waterproof. The trade‑off is weight; you’ll need a sturdy frame to keep it from sagging.
- Pros: sleek appearance, excellent water barrier, long lifespan.
- Cons: higher cost, installation can be trickier without professional tools.
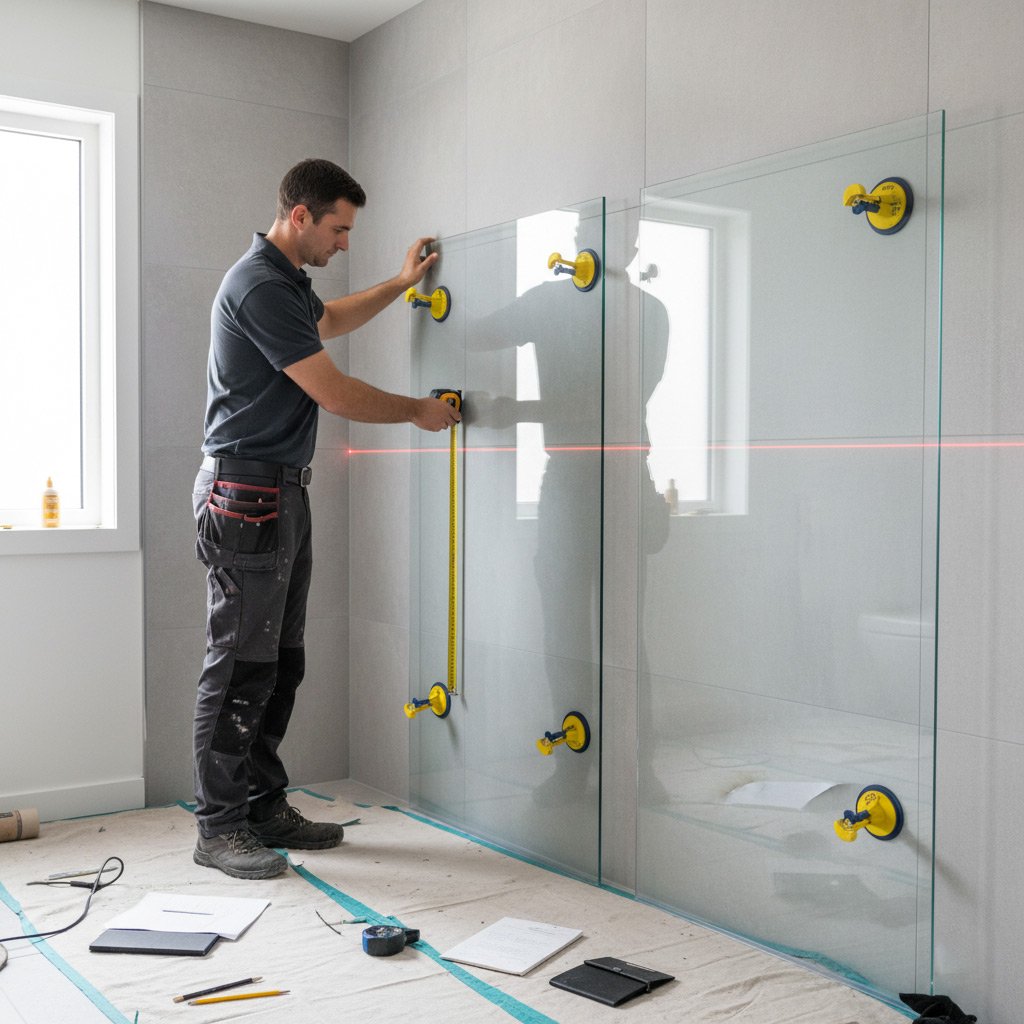
Accurate Measurements: How to Choose the Perfect Fit for Your Shower
Getting the liner to hug every curve of your shower isn’t magic—it’s math. A mis‑sized liner is the fastest way to a soggy floor, and nobody in Flemington wants to be that guy.
Measure Twice, Cut Once
Grab a steel tape, not a cheap cloth one, and note three key dimensions:
- Width – from wall to wall at the base.
- Depth – from the back wall to the front edge.
- Height – from the floor up to the top of the curb or tile.
Write them down, then double‑check. A single typo can cost you $200 in extra liner.
Account for Nooks and Crannies
Most showers aren’t perfect rectangles. Look for recessed niches, built‑in benches, or angled walls. Measure those spots separately and add ½ inch to each side; the extra slack lets the liner flex without tearing.
When you’ve got the numbers, sketch a quick box on graph paper. Visualizing the shape helps you spot odd angles before you even step into the tub.
Pro‑Level Installation Steps: From Prep to Perfect Seal
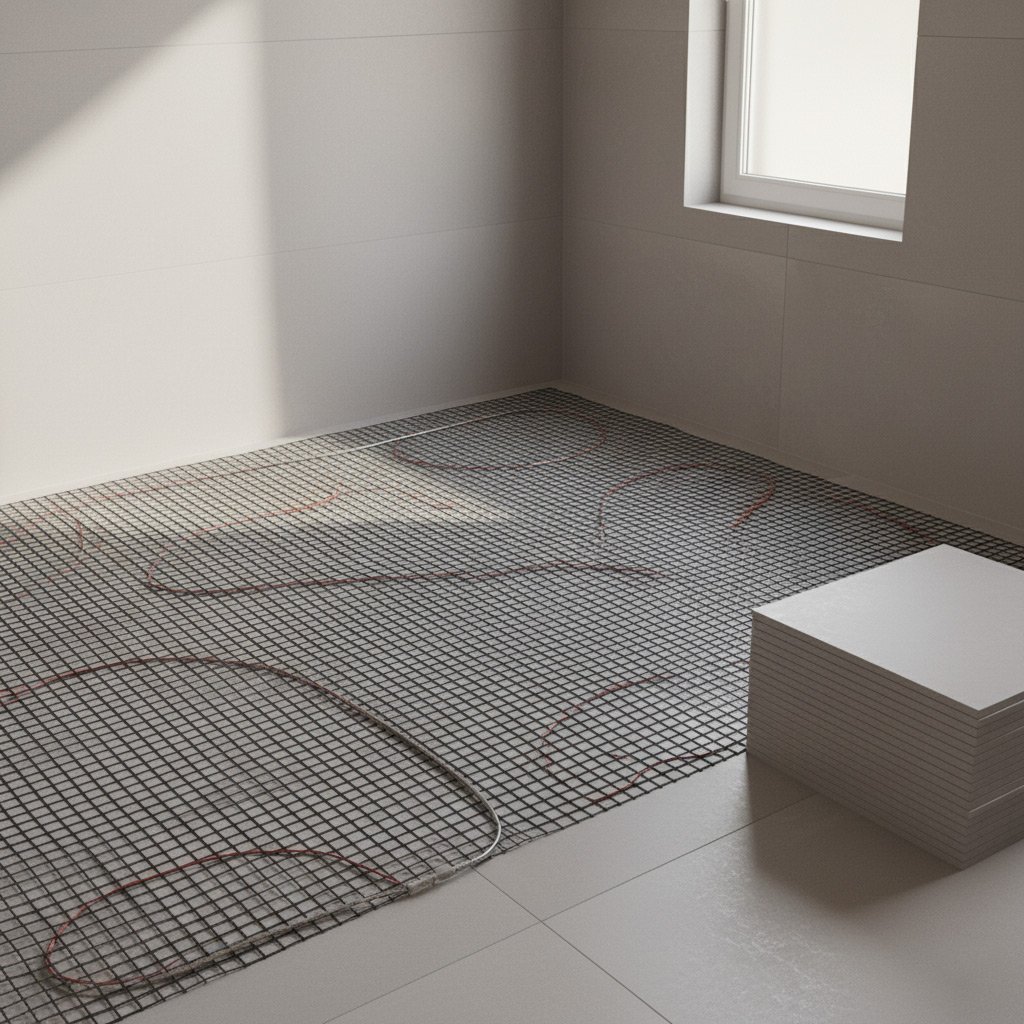
Step 1 – Prep the Shower Base
Start by pulling the old liner off and scrubbing the tub with a citrus‑based cleaner. Don’t rush—any residue will bite the new liner later. Once it’s dry, tape off the corners with painter’s tape to protect the walls while you work.
Step 2 – Cut, Fit, and Test
Lay the new liner flat on the floor and trace the exact shape with a utility knife. Measure twice, cut once—a snug fit means fewer seams to seal. After the first cut, place the liner back, press it into the corners, and walk around to spot any gaps before you commit.
- Sharp utility knife
- Measuring tape
- Silicone‑based adhesive
- Caulking gun
Step 3 – Seal the Edges Like a Pro
Apply a bead of 100% silicone along the perimeter, then smooth it with a wet finger for a uniform seal. Don’t forget the niche—those little recesses love to leak if you skip them. Let the silicone cure 24 hours before you step in; the result is a watertight barrier that lasts.
Edge Sealing Secrets: Waterproofing Techniques the Experts Use
Why the Edge Is the Weak Link
Even the toughest liner can betray you if the perimeter isn’t sealed tight. Water loves the tiniest gap—it finds a crack, slides under the liner, and turns your floor into a slip‑n‑slide.
Typical failure points include:
- Unfilled corners where the wall meets the tub
- Loose seams around the shower door frame
- Improperly trimmed liner edges that expose the substrate
Pro‑Level Edge Sealing Steps
First, clean the entire edge with an alcohol wipe; any dust or soap residue will ruin adhesion. Then, insert a backer rod into the gap—think of it as a tiny cushion that lets the sealant sit where it belongs.
Next, apply a 100% silicone sealant in a smooth, continuous bead. Use a caulk‑smoothing tool or a wet finger to press the bead into the backer rod and flatten it against the wall.
- Don’t rush—let the silicone cure for at least 24 hours before using the shower.
- For extra protection, run a thin strip of waterproof tape over the cured bead.
Final Check & Longevity Boost
After the sealant sets, run a bucket of water along the edge. If you see any seepage, re‑apply silicone immediately—better to fix now than later.
To keep the seal strong for years, wipe away any mildew with a vinegar solution every few months and avoid harsh cleaners that can degrade silicone.
Maintenance & Longevity: Simple Practices to Extend Your Liner’s Life
Regular Cleaning Routine
Keep the liner free of soap scum and mineral deposits with a gentle, non‑abrasive cleaner. Skip the bleach—it eats away at PVC and CPE over time.
- Wipe down walls after each use with a microfiber cloth.
- Once a week, spray a vinegar‑water mix, let sit 5 minutes, then rinse.
- Dry the surface with a squeegee to prevent water pooling.
Spot‑Check the Seams
Every month, run a finger along the edges and corners; you’ll feel any loosening before a leak appears. Early detection saves a fortune on repairs.
- Look for bubbles, discoloration, or peeling tape.
- If you spot a gap, apply a thin bead of silicone sealant and smooth it with a wet finger.
- Allow the sealant to cure 24 hours before the next shower.
Mind the Environment
Heavy trays, rough brushes, and extreme temperature swings are the silent killers of liners. Treat the shower like a high‑performance car—respect the limits.
- Use only lightweight, plastic shower caddies.
- Avoid placing hot pans directly on the liner; let them cool first.
- Ventilate the bathroom after each use to reduce humidity buildup.
Case Study: Turning a Leaky Flemington Shower into a Watertight Sanctuary
When the Martinez family called us, water was pooling on their bathroom floor like a mini pond. They’d tried a cheap liner, but the leaks kept coming back, costing them time and money. We knew a single, precise solution could end the nightmare.
The Diagnosis
First, we inspected the shower cavity and found three culprits:
- Old PVC liner warped from years of heat.
- Improper seam tape that had lifted at the corners.
- Missing back‑wall seal, allowing water to seep behind the tub.
The Fix
Our team swapped the warped liner for a CPE sheet, measured to the millimeter, and sealed every edge with a dual‑layer silicone‑plus‑butyl tape combo. The steps were simple:
- Remove the old liner and clean the substrate.
- Apply a primer coat to improve adhesion.
- Lay the new CPE liner, trim to exact fit.
- Seal seams with waterproof tape, then finish with a silicone bead.
- Re‑install the shower door and test for leaks.
Within an hour, the Martinez shower was dry, and the family could finally step out without a splash on the floor. They saved over $1,200 by avoiding a full remodel. The secret? Precise measurement, the right material, and a seal that actually holds.
Final Words
Now that you’ve got the know‑how, it’s time to put the plan into motion. A properly fitted, sealed liner isn’t a luxury—it’s the foundation of a leak‑free bathroom that saves you cash and headaches down the road.
Quick Checklist Before You Start
- Pick the right material: PVC for budget, CPE for durability, Acrylic for style.
- Measure twice, cut once – use a steel tape and note the curb, wall, and floor dimensions.
- Prep the surface: clean, dry, and apply a primer if the liner calls for it.
- Seal every edge with a quality silicone or urethane caulk; don’t skimp on the corners.
- Test with a bucket of water before the final finish.
When you’re ready to skip the guesswork, call a local pro who lives and works in Flemington. They’ll handle the prep, install, and seal with the same precision you just read about. Need a hand? Check out our Shower Liners page or explore related services like Drain Cleaning and Leak Detection for a full‑service solution.
People Also Ask
What are the main differences between PVC, CPE, and acrylic shower liners?
PVC is the most affordable and flexible option, but it can discolor over time. CPE offers superior durability and resistance to chemicals, making it ideal for high‑traffic bathrooms. Acrylic provides a sleek, high‑gloss finish and excellent waterproofing, though it comes at a higher price point.How do I accurately measure my shower to ensure a perfect liner fit?
Measure the width, length, and height of the shower walls at the deepest points, then add a ½‑inch allowance for overlap. Double‑check each dimension and write them down before ordering. Using a level helps verify that walls are truly vertical for a snug fit.Can I install a shower liner myself, or should I hire a professional?
DIY installation is possible if you have basic tools, a steady hand, and follow step‑by‑step instructions. However, professionals ensure a flawless seal, especially around corners and fixtures, reducing the risk of leaks. For complex layouts, hiring an expert is the safest choice.What edge‑sealing techniques prevent water from seeping behind the liner?
Apply a high‑quality silicone caulk to all seams, corners, and the liner’s perimeter before installing the wall panels. Use a backer rod in gaps larger than ¼ inch to allow the caulk to flex. Finish with a smooth bead and let it cure for at least 24 hours.How can I extend the lifespan of my shower liner with simple maintenance?
Clean the liner regularly with a non‑abrasive cleaner to avoid buildup that can degrade the material. Inspect the seams and caulk annually, reapplying silicone where cracks appear. Avoid harsh chemicals and abrasive scrubbers that can weaken the liner’s surface.Flemington Bathroom Remodel brings over a decade of specialized bathroom renovation experience to homeowners throughout Flemington, NJ. Their team combines skilled craftsmanship with a deep understanding of local design trends to deliver functional, stylish spaces. Committed to personalized service, they work closely with each client to ensure projects reflect the unique character of the community.
Need Bathroom Remodel?
We restore comfort and safety to homes in Flemington, NJ and surrounding communities (08822, 08844, 08848, 08861, 08873) with prompt, reliable service. Our technicians arrive on schedule and complete the job efficiently so you can get back to daily life.
Get Bathroom Quote